I know it's past Halloween, but it's one of my favorite of the year. So I had to just quickly share my witch silhouette tin that I made (with a tutorial)! My tin is 18 inches round and the vinyl for this size would be $16.00!
Things you need:
Bottle cap tin.(OR for a cheaper alternative...I saw those tin covers for older electric ranges at the dollar store. They wouldn't have your cute ruffled edge or the hanger, but it would be MUCH cheaper. I think I paid $12 dollars for the tin alone.)
Paper of desired color/pattern/texture (I used a 12x12)
Scissors or fancy circle cutter
Ruler
Craft Paint to coordinate/match paper
Paint brush or foam brush
Mod Podge any finish
Vinyl- Let me know what size you need cause I can change the size without too much difficulty
Craft ink pad
Distressing ink pad
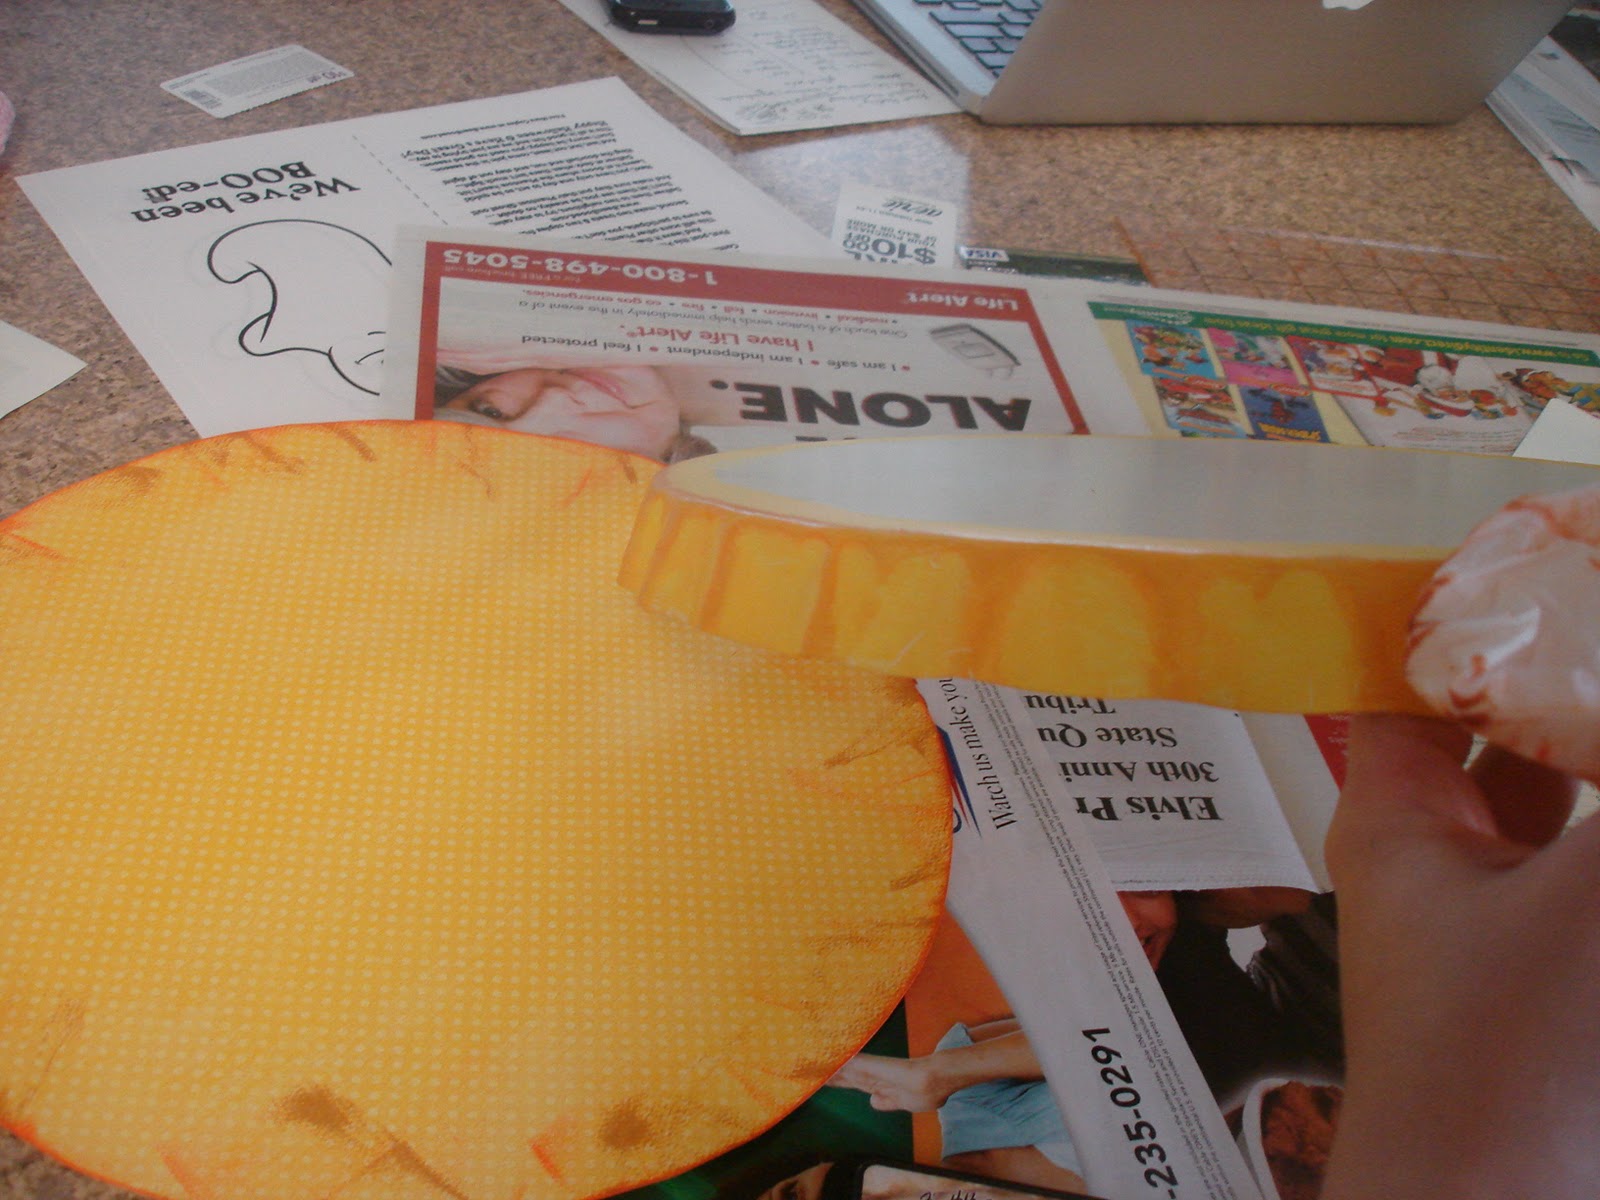
1. Take craft paint and brush on tin around the edge. (You can see below) I chose only to do the edge, cause I was covering mine with the paper. Let dry well before you put on the craft pad ink that is shown below.
2. I then marked the centers on my paper and measure 6 inches out to all the sides of my 12x12 and then just free handed the rest of the circle from those guides. Then cut out with scissors.
Just wanted to show my pattern and the texture of what I picked. Yellow-Orange with lighter yellow polka dots. Cause I love Polka dots.
If you really want exactness with your circle then you can use a fancy circle cutter, which I have one, but I preferred the more rough look, since I decided to distress the finished project.
3. So after the craft pain has dried, then I took my craft ink pad and placed it on the edge of my tin and also on my paper edge
4. After letting the craft ink dry for a little bit, I took my distressing ink and did the same on all the same surfaces, letting the orange ink remain a little thicker than the distressing ink. (I suggest using an old distressing pad if you have one, cause you can get some of the craft ink on your distressing pad, but mine wiped of fairly well).
5. Then I took a tissue and then buffed the area, (Smeared the area) for a more uniform look and a less blunt look on the tin. Then it looked more aged.
6. Then I took the dried tin and the foam brush and covered the entire tin front with Mod Podge. (Now I'm fairly new to Mod Podge and I don't have the greatest tips on its usage, but I was told if you go thinner below the paper and thicker above then it has less bumps. But I still had some small bumps, so I'm not sure the best application... Anyone help me here?)
7.Then I put the paper on the Mod Podge and I'm thinking that I'll use my squeegee (for applying vinyl) to make sure the Mod Podge gets totally smoothed out next time. I also hear that if you let that layer totally dry before applying the top coat it helps. I guess you could sit and watch and make sure your paper doesn't bubble til it's dry.
8. Then apply another coat over the top of the paper and let dry. I used a gloss Mod Podge, cause that's what I had on hand, but I think that if I had used a matte finish that the vinyl application would have been a little easier. Let dry completely.
9. I then marked the center of the vinyl image as above using my acrylic see through ruler. So I could make it centered. I then made small marks on the outside of the tin at the 12, 3, 6, 9 o'clock and lined those up with my markings on the transfer paper. The ironic thing is. I ended up putting it on upside down :( So then I took the opportunity to cut a new one with a thicker complete circle around it. Unlike the one below. It was hard to keep that outside in the circle shape cause it didn't stick well.
10. then take off the transfer tape carefully to make sure the vinyl stays where you want it. Like I said it would be easier if you use matte finish. It was kind of a slick surface. Then spray with a clear cover to protect the paint on the sides from chipping off it you'd like.
The other reason I cut another one is cause the vinyl circle wasn't complete around it. I didn't love it. But I also took this picture so you can see the texture and the fine details of the finished project.
So the finished product with some of last years Halloween projects. Hope you enjoyed this. It was easy enough that I might have to come up with something for Thanksgiving and Christmas to do some more!!










.JPG)


